A wrongly sized hot runner controller costs money in one of two ways: you run out of zones and buy a second unit, or you pay for capacity you never use. The seven steps below list the information to gather before requesting a quote and how each item shapes the choice.
1. Pin down the zone count
Every heater–thermocouple pair that must be controlled independently is one zone. Typically each hot runner nozzle is a zone and the manifold is one or several zones; some moulds add the sprue bush as a separate zone.
List the heaters from the mould drawing and ask: “Do I need to set this heater’s temperature independently of the others?” If yes, count a zone. Two manifold heaters wired in series and monitored by one thermocouple are one zone.
Rule of thumb: if today’s mould has 6 zones, consider an 8-zone unit. A spare zone serves the next mould or backs up a faulty module.
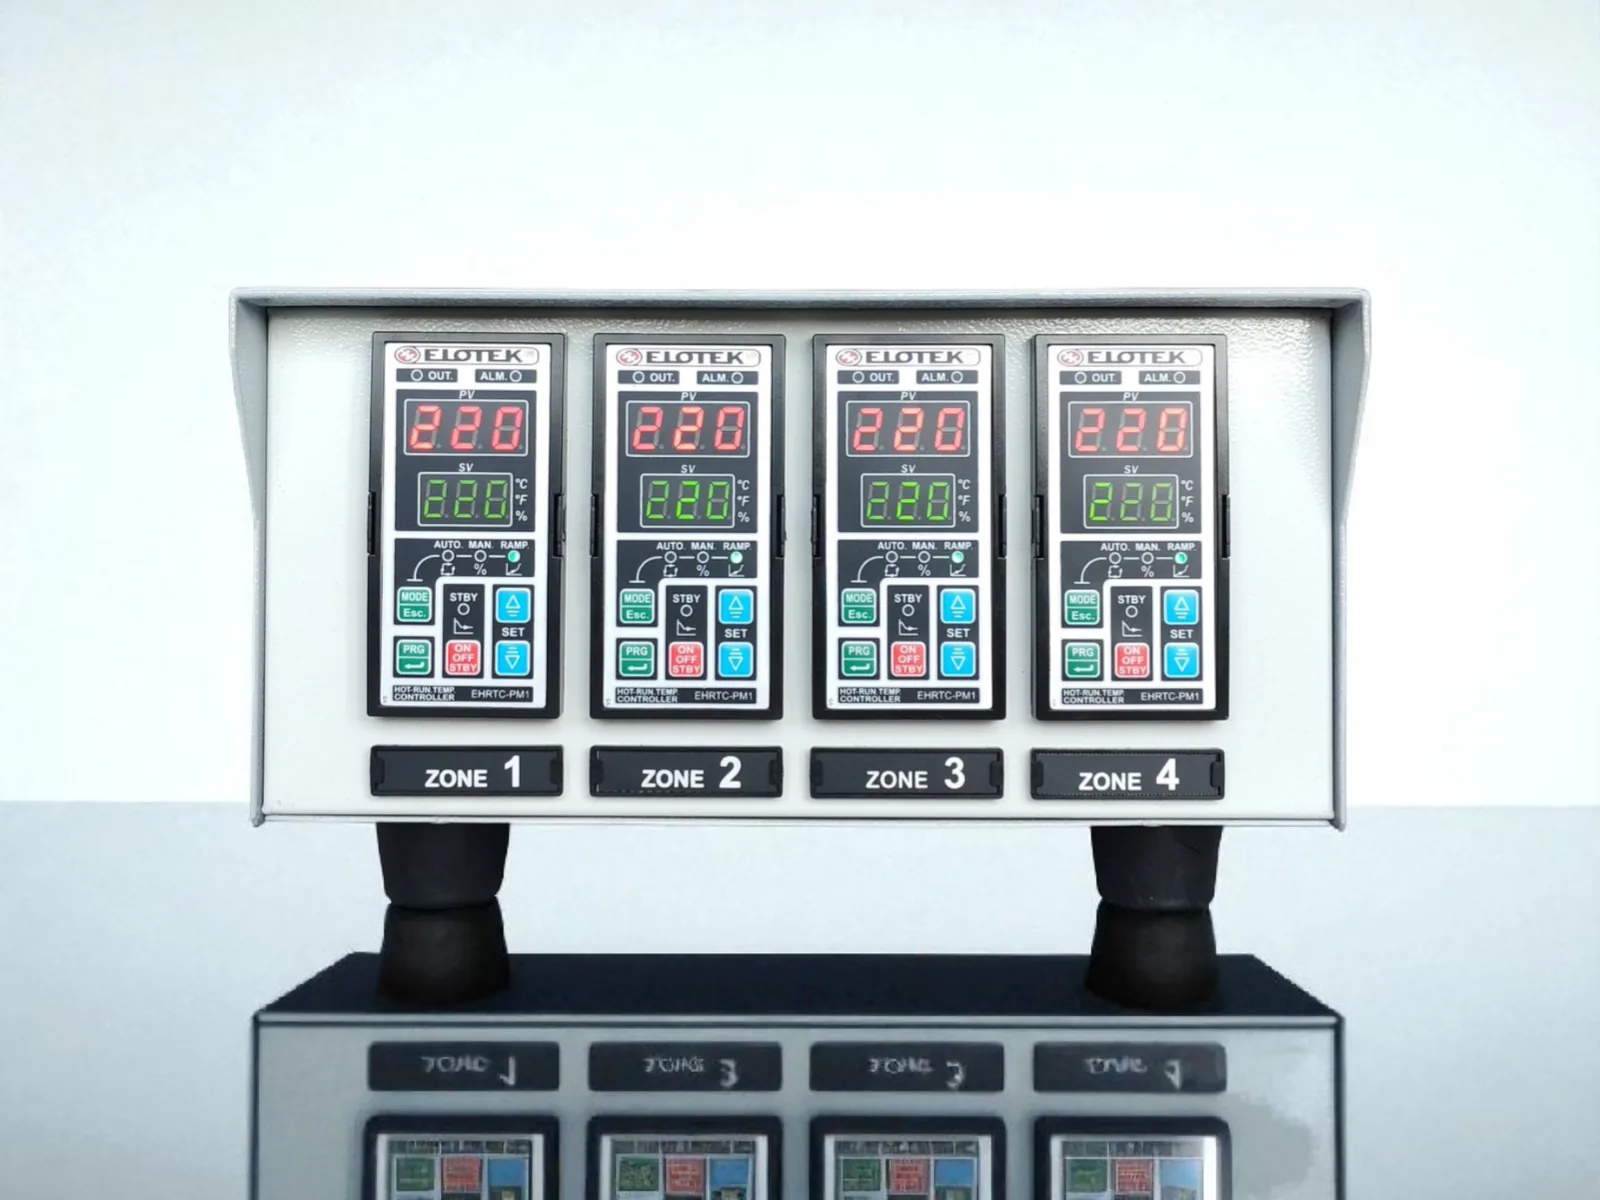
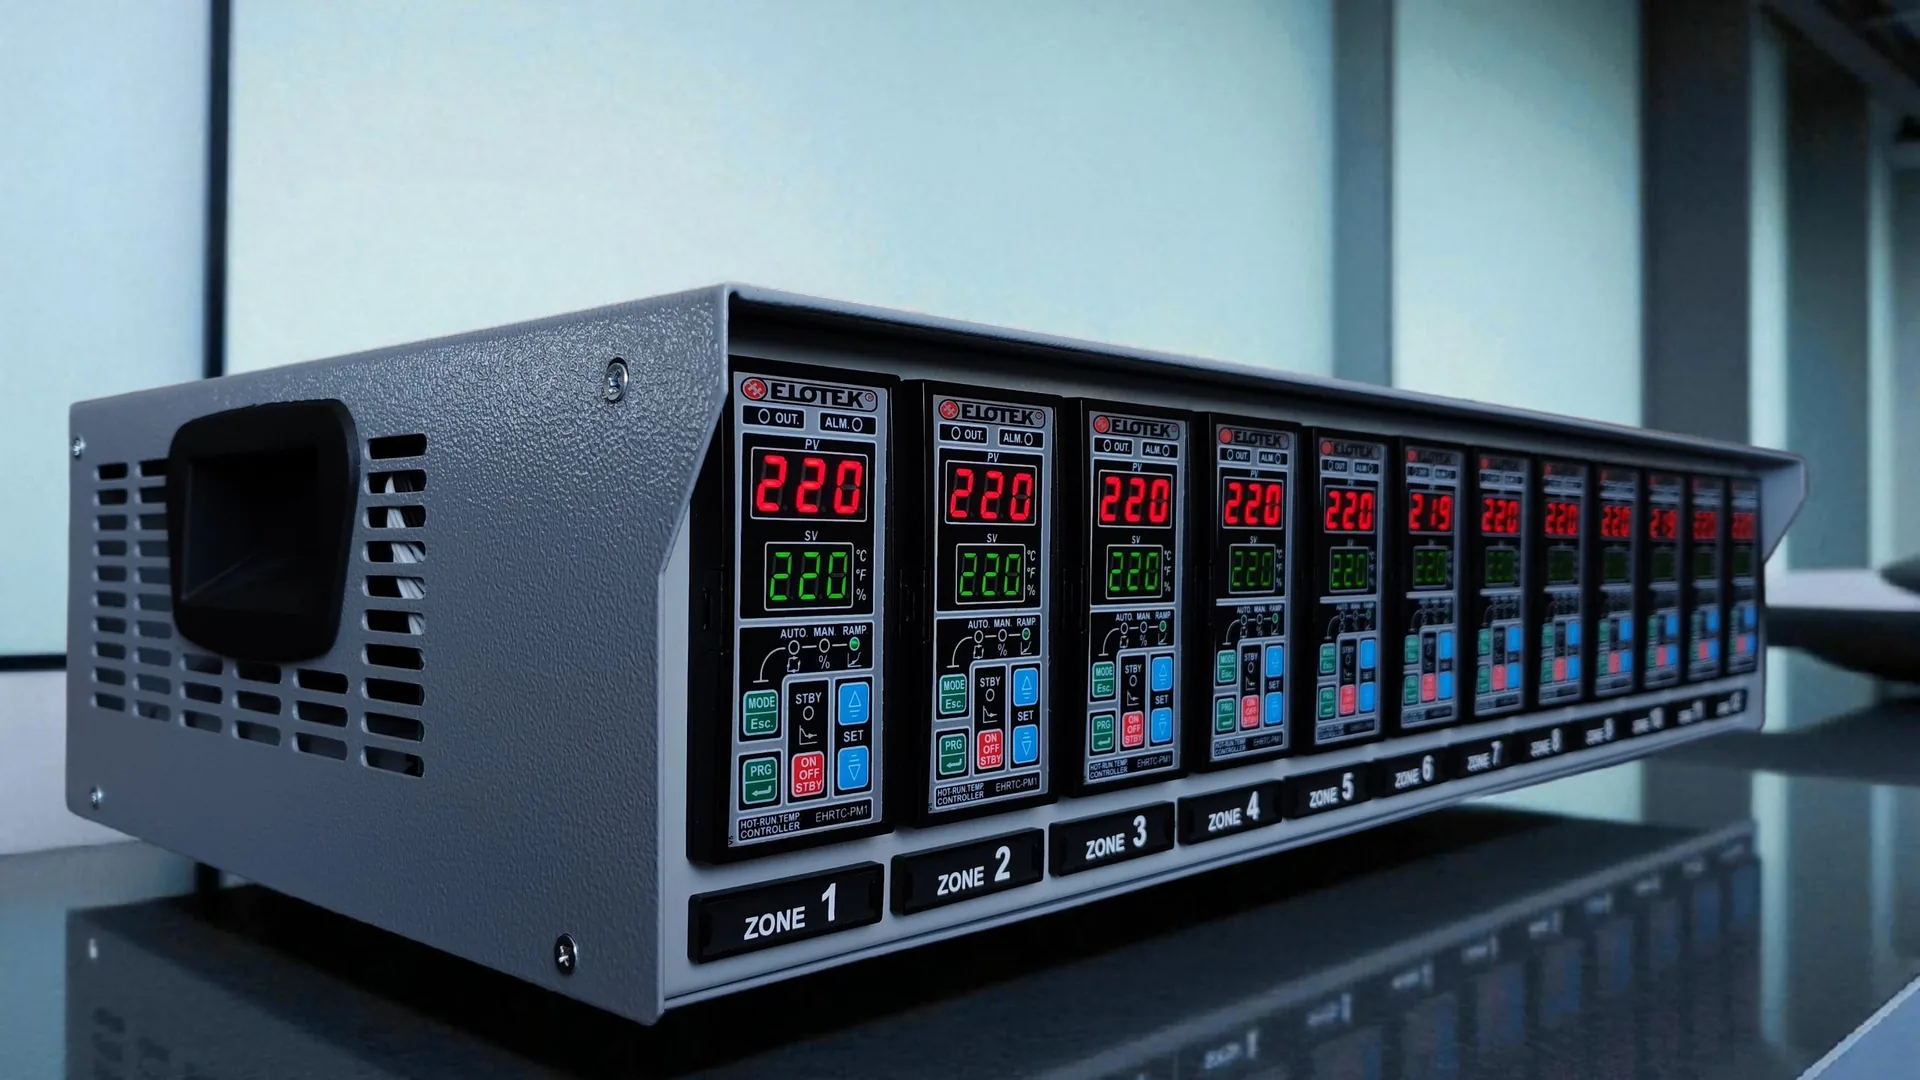
Standard EHRTC options: PM1 in 1, 2, 4, 6, 8, 10 and 12 zones; RM2 in 4, 6, 8, 10 and 12 zones. Higher counts are covered by combining units or building to order.
2. Calculate power per zone
Read each heater’s wattage from its label or the mould documentation and add up heaters that share a zone. EHRTC-PM1 and RM2 provide up to 3200 W per zone, roughly 14 A at 230 V.
| Heater type | Typical power | Note |
|---|---|---|
| Nozzle coil heater | 150 – 600 W | Monitored by one thermocouple |
| Manifold cartridge heater | 400 – 1200 W each | Usually 2–4 in series/parallel |
| Sprue bush | 300 – 800 W | Separate zone recommended |
Splitting manifold zones above 3200 W into two zones protects the controller and gives a more even temperature profile.
3. Identify the thermocouple type
Type J (Fe-CuNi) is common on moulds built in Türkiye and Europe; type K (NiCr-Ni) appears on Far-East tooling. EHRTC controllers select the sensor type in the program, so both work; keeping every thermocouple on a mould the same type reduces wiring errors.
4. Semi-modular or fully modular?
This is the core difference between PM1 and RM2:
- EHRTC-PM1 (semi-modular): The power stage sits outside the unit in an accessible section. More economical; ideal for small to medium moulds and single/dual nozzle applications.
- EHRTC-RM2 (fully modular): Each zone’s power stage lives on its own module, cooled by a temperature-controlled fan. If a module fails you remove and ship only that module; the remaining zones keep producing. Preferred for shift work and continuous production.
The deciding question: how long can a single-zone fault stop production? If even hours are expensive, choose RM2; if planned stops are acceptable, PM1 is sufficient.
5. Cable length and connectors
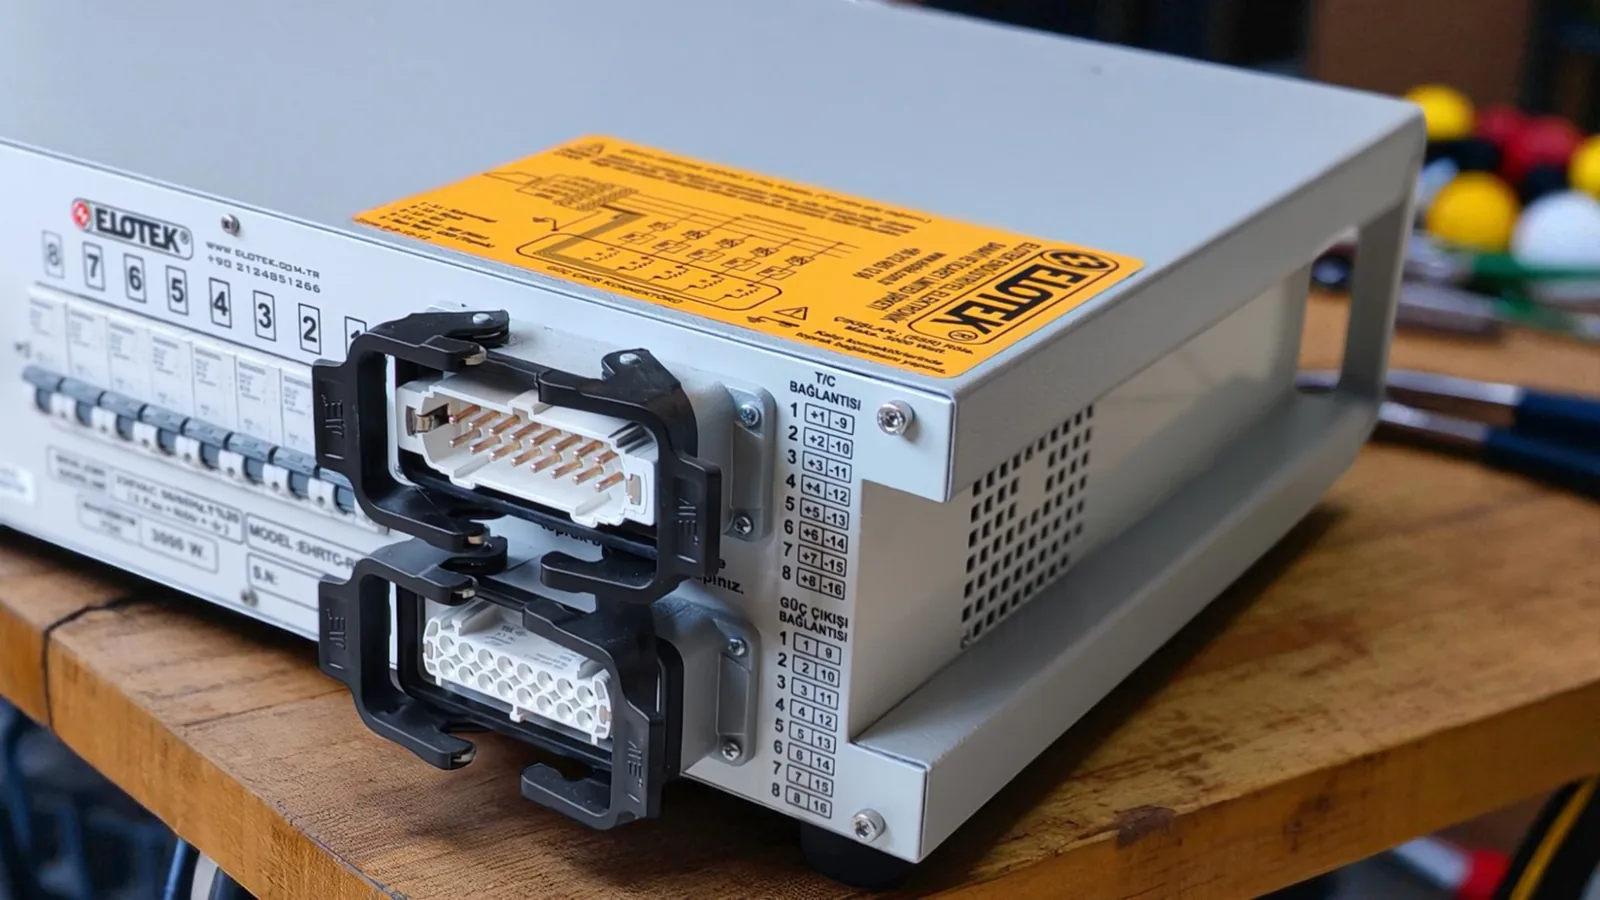
Measure the distance between controller and mould. The thermocouple line must keep its input line resistance below 100 Ω and must use compensation cable; plain copper introduces measurement errors. Elotek supplies heater and thermocouple cables in any length with Harting-type connectors; standard pin-outs are in the catalog.
If your mould already has a connector, attach its pin diagram to the quote request and the unit will be wired to match.
6. Alarms and options
- Alarm relay (option): A 250 V AC / 3 A dry contact on thermocouple break or deviation alarm; can feed a “temperature not ready” signal to the moulding machine.
- Deviation alarm: Independent high and low limits.
- °C / °F: Selectable on the RM2.
7. Service and spare parts
The controller runs for the life of the mould, so serviceability matters as much as price. Elotek-made units are repaired within 3 business days including parts, and SSRs, fuses and modules ship from stock. That is the most tangible advantage of a locally built controller.
What to send with a quote request
- Zone count and heater wattage per zone
- Thermocouple type (J/K)
- PM1 / RM2 preference (or describe your production pattern if unsure)
- Cable length and connector pin diagram if any
- Whether you need the alarm relay
With these five items you receive a price and lead time the same business day. If undecided, use the zone selector on the home page or request a demo unit and test it on your own mould.
This guide was prepared by the Elotek engineering team from field experience with EHRTC installations. Reach us via WhatsApp or e-mail with your questions.